 Taking advantage of this week’s rubric, normalisation of tasks, I think it is appropriate to talk about how Phil and I approached the coding management of the prototype.
After having decided to make the whole development with Unity, I did not think it convenient to insist on the possibility of using visual programming as I did before using Playmaker during GDD710. It is not the right moment to overload my partner’s work and make him worried about investing extra time learning how to use Game Maker Studio 2. So I had to dust off my C Sharp notes, and in just a few days, I made up for the pleasure by programming in the traditional way.
I was aware of the fact that this procedure would be shared by two persons at least. Fortunately, Phil is very organized and clear, which helped me understand his code without major difficulties and I tried to do the same. Even more: without realizing it, both of us were carrying out our research by using the same tutorials and technical guides, which was a great relief. We both agreed on the use of Visual Studio as integrated development environment editor.
Clean code and norming
A major misunderstanding is to confuse clean code with something that can be called “beautiful code.” Clean code has no beauty reasons. Professional programmers are not paid for writing beautiful or pretty code. They are hired by development companies as experts to create customer value. (Roth 2017)
- Code is clean if it can be understood and maintained easily by any team member.
- Clean code is the basis for being fast. If your code is clean and test coverage is good, a change or a new function just take a few hours or a couple of days – and not weeks or months – until it is implemented, tested, and deployed.
- Clean code is the foundation for sustainable software and keeps a software development project running over a long time without accumulating a large amount of technical debt. Developers must actively tend the software and ensure it stays in shape because the code is crucial for survival of a software development organization.
- Clean code is also a key to make you a happier developer. It leads to a stress-free life. If your code is clean and you’re feeling comfortable with it, you can keep calm in every situation, even in front of a tight project deadline.
But how to know if we’re producing clean code without being experts?
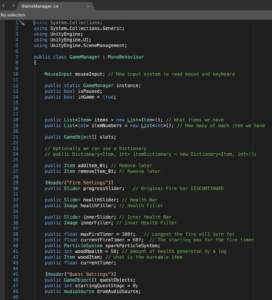
For starters, when there were doubts related to certain parts of the routines, we try to clarify them via chat as much as possible. Even if I agree with the self-documenting code philosophy, where no comments are required to explain its purpose, we decided to add detailed comments to the code to helps us to keep track of issues.
Do the simplest thing that could work is our mantra for this project, our personal mix of the the KISS (keep it simple, stupid) and YAGNI (You Aren’t Gonna Need It!) principles.
Concerning naming a few rules like avoiding cryptic abbreviations, using self explanatory names for classes, functions and variables It has been enough not to have to pull our hair out!. So far, so good.
Back to Unity, in the beginning, Phil and I were working individually, each one of us in our own builds. We were a little afraid of the process to merge both resident codes in separate branches of the repository into a single one. In fact, it took quite some time until the GitHub repository configuration were prepared to do it.
Weekly challenge: Team Charter
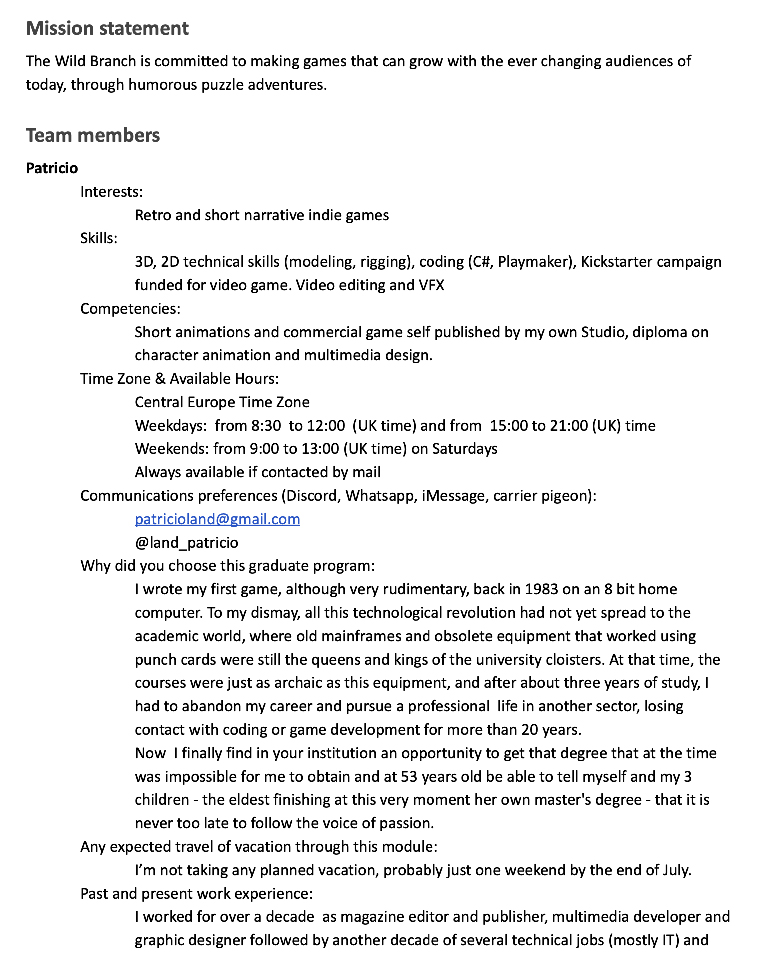
As part of the weekly challenge, the team put together the Team Charter document that includes the following aspects: mission statement, team members and their interests, skills and competencies, meeting management, norms of conduct, decision ,making, communication plan, handling conflicts and consistency and team goals among other points. An addendum has been incorporated to the main document later on.
The Wild Branch is committed to making games that can grow with the ever changing audiences of today, through humorous puzzle adventures. (Wild Branch mission statement 2021)

My personal contribution to the project (3): Input systems
It was not even easy to divide the tasks since both of were very excited to start working in the demo game mechanisms, specially the quest system. It seemed important to me to put into practice all my reading about task delegation and not pretend to do everything by myself. By mutual agreement, we established that he would be in charge of the quests and level design while I would be in charge of the movement system, the inventory, and the screen menus, including the basic UI.
Exploring Unity’s New Input System
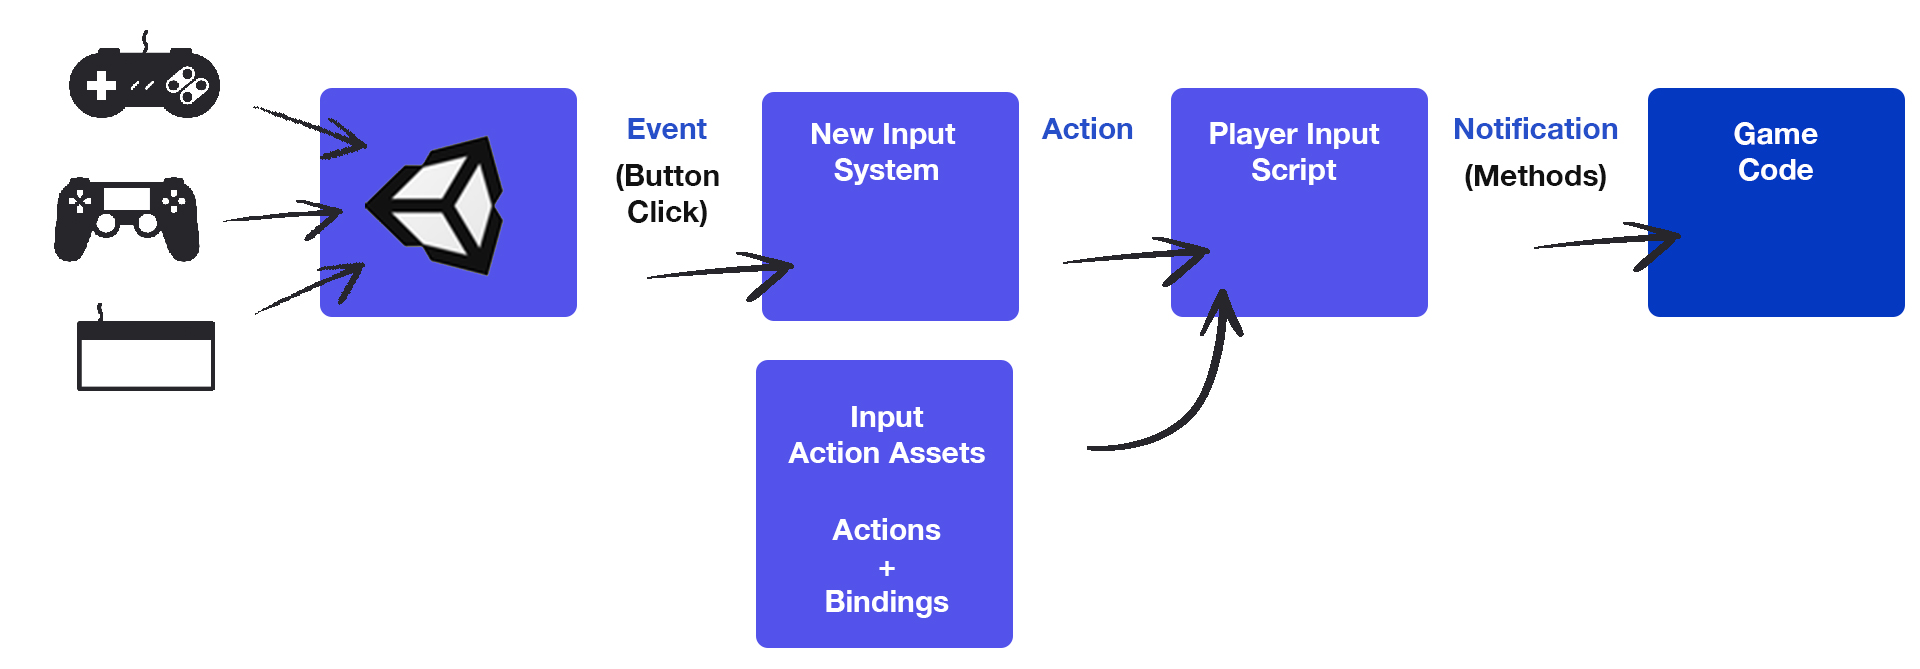
As your may have read on my previous entry, I have been working on the player’s movement. Commenting on this to Giovanni, he asked us if we had considered some other type of input device to control the game as a gamepad or PC control. As we did not, So this week I started thinking about it. When researching on the subject, I discovered that for some time now, Unity officially incorporated an asset known as New Input System. Traditionally If you want your game to support different platforms, you need to write code to handle the logic for different devices, with the complexity that this involves.
The new input system helps developers deal with this situation providing a binding architecture. Now we are allowed to separate each device input from our code actions meaning that as programmers, we only need to handle the actions the player triggers. An input event in the new system is called an action while the mapping between an action and an input device is a binding.
This new support includes:
- Keyboard
- Mouse
- Pen
- TouchScreen
- Sensor
- Joystick
- GamePad
What went wrong?
While it was always possible for me to use the proven routines to read the keyboard and mouse position without going through this New Input System as I did so many times in the past, I decided to take the hard way in order to learn some new stuff here.
Once I was less confused about the operation of this input handling system, I decided to use it in order to try new things and learn the modern techniques for this engine. It was quite a challenge as most online tutorials only covers how to move a character using the keyboard but not the mouse as an input device.

The next step was to import the animations for the main character (at this point, an enjoyable male character provided by Will) and link the animations to the script managing the movement via the Animation Module of Unity.
To my great surprise, this turned out to be much more complicated than I predicted, and I spent most of the day trying to control the flow of the animations, from an initial idle state to the right or left animation cycle (following the mouse click on the map) to return to an initial state of idle. I’m not a big fan of the animation module by the way. Many hours of unsuccessful attempts made me go to bed with a bitter feeling of frustration, but as always happens to me, some new idea or approach would occur to me in the morning.
Tomorrow it will work…
It never fails! (well, almost never to be honest). Today I decided to use another implementation of the Animation Module, in order to control the animation clips from the C# script that handles the player’s movement.
This other way is called Blend Trees and I never used it before. The basic idea is to join all the animations under a same controller and to trigger each individual clip using a numeric value (or range or threshold). This technic performed like a charm and I was able to get it working in less than an hour.
Thanks to my effort to get out of my comfort zone, I learned two handy new techniques in Unity.

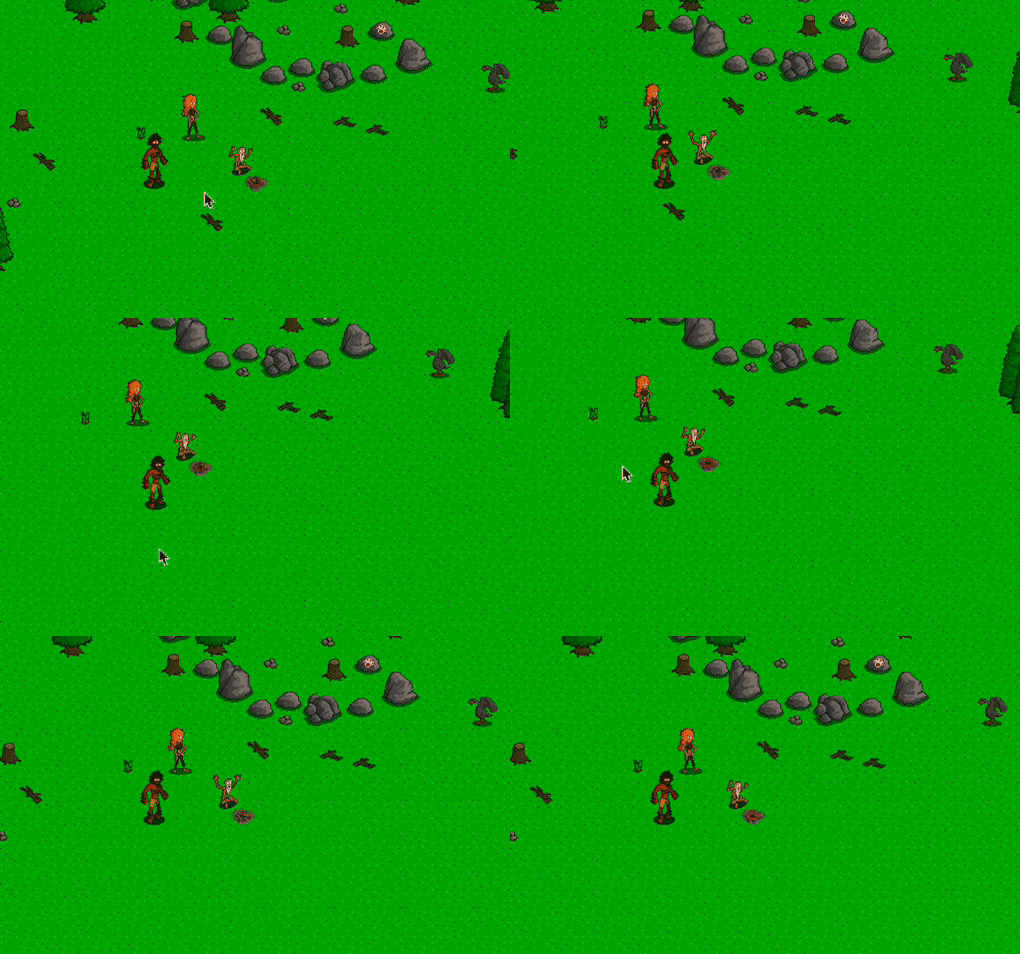
As it was an early decision to build the prototype with the very basic requirements, instead of having 8 different sprite animations for the walks, we only have 2 and 1 idle cycles. Good enough to test and to show my progress to the rest of the team!.
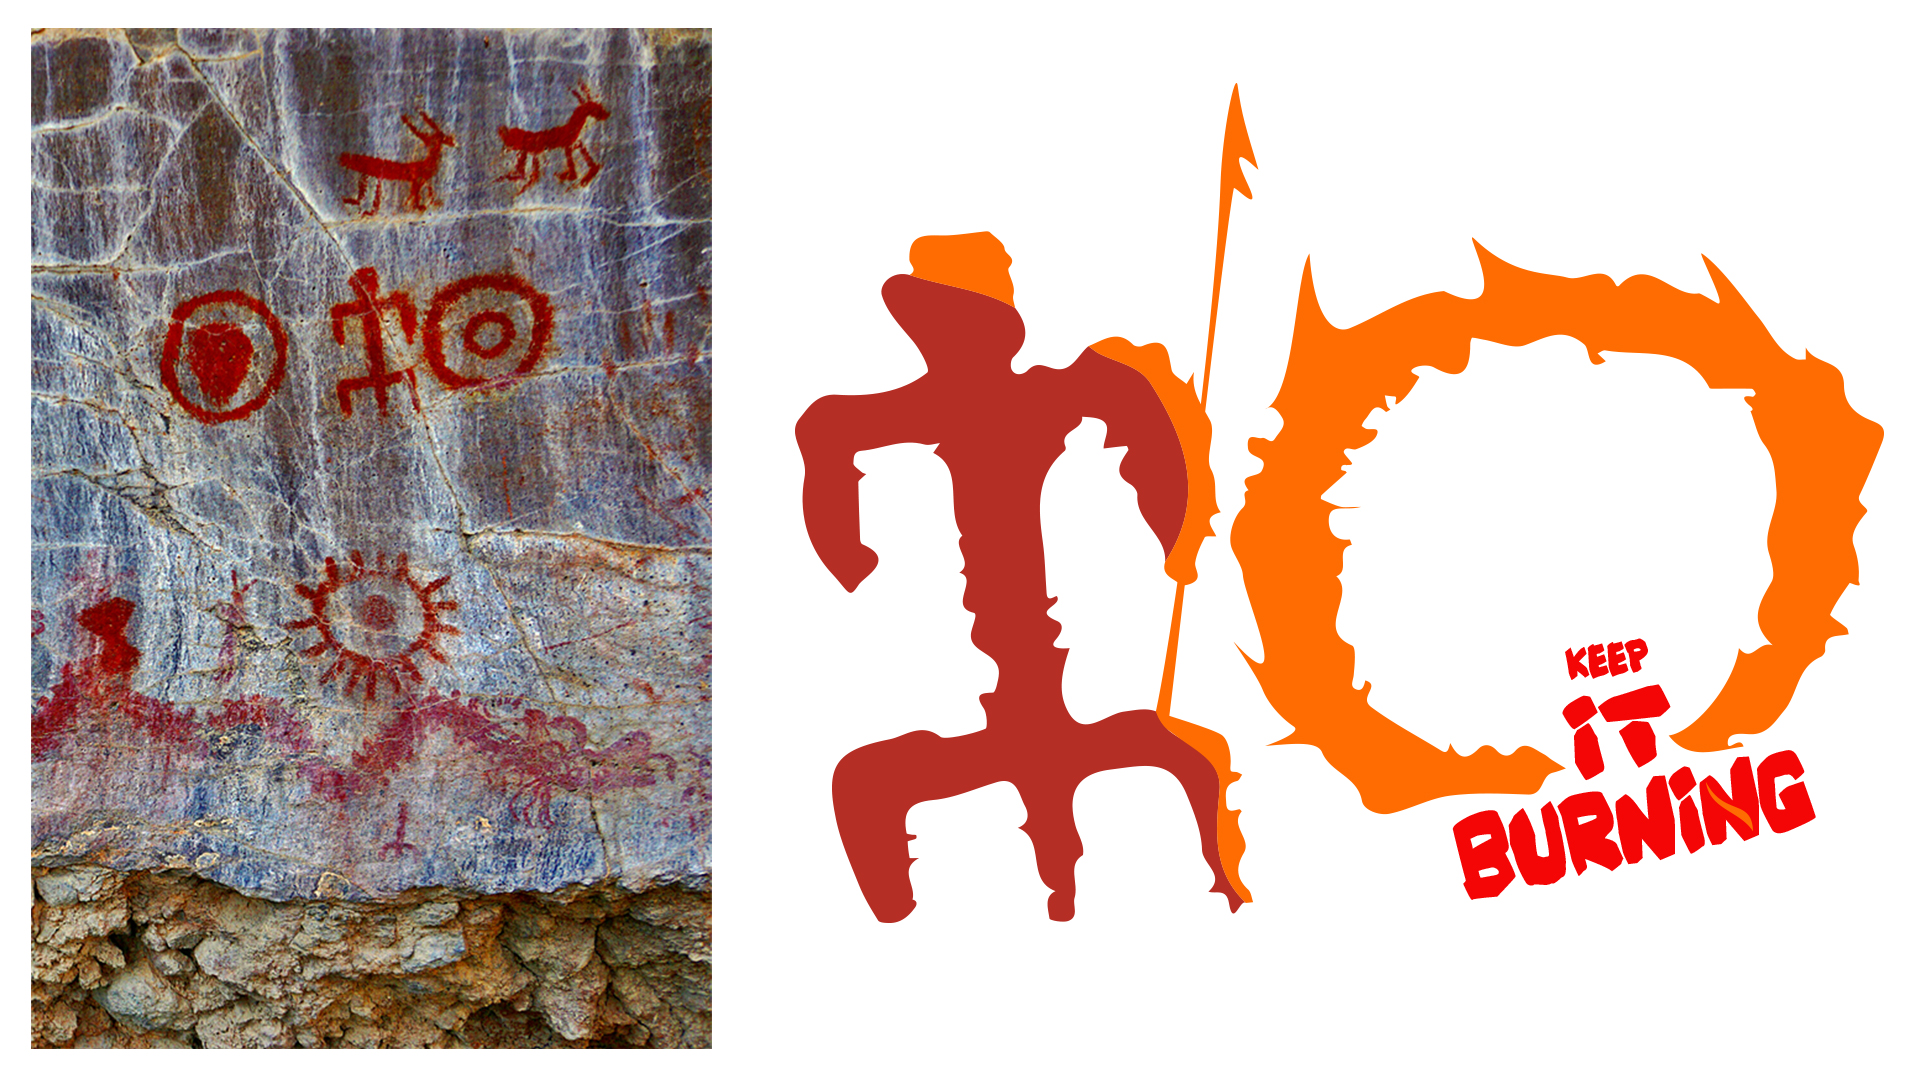
In addition to everything explained above about movement control, we were struggling to create a logo for the game for almost a week, and even though half the team underestimated the importance of it, I was persuaded that it was a good idea to include during the presentation. We put a lot of work on the early sketches, but nothing we had so far reflected enough the main concept of the game, so I took my chances.
My personal contribution to the project (4): The game Style Chart
After a few hours of doodling and research I found a set of original photographs from a series of petroglyphs discovered on the late eighties in Mexico, near the Hidalgo caves. A set of different motifs that narrate the origins of humanity in this part of the planet, generally associated with caves or rock shelters, which should have served as a home or refuge.
Even if it was not the same ethnic group, geographical place, or exact time period in which we had imaginatively anchored our project, everything we need was there!
Big thanks to the original artist, whoever it was.
I felt inspired, so I also did another logo, this time for the team itself:
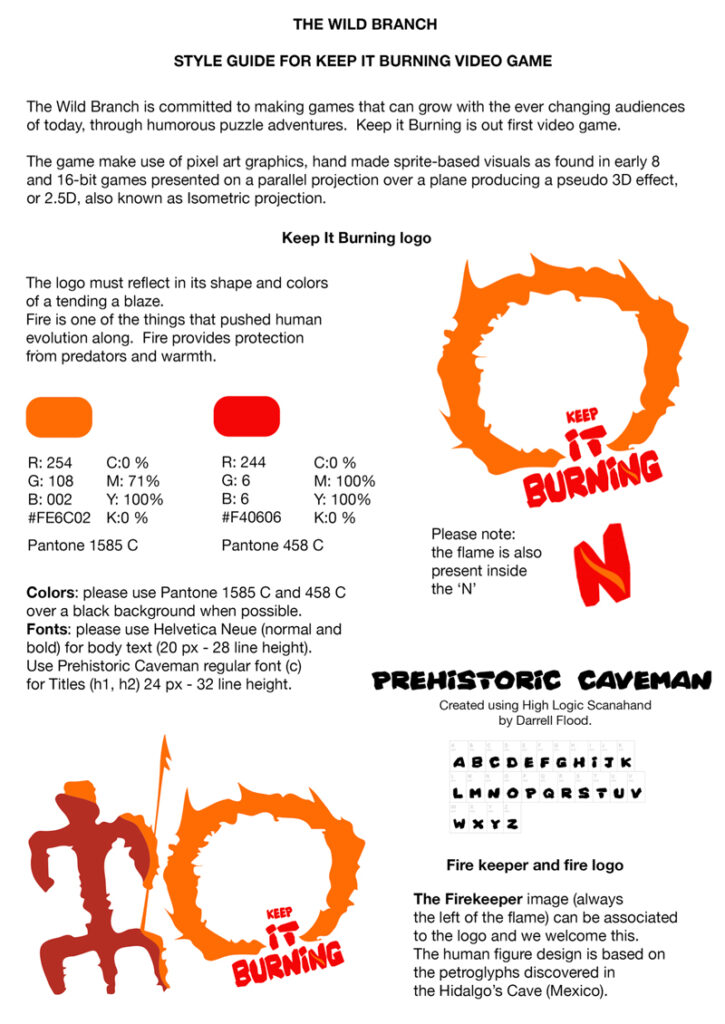
Once I was satisfied with both, I added the typography and the colour palette using Adobe Illustrator during the process. The following is the final Style Guide for the game:
As I wrote before, I also took the initiative on the full pitch deck development. It was not my first time creating this kind of documentation (you can find a similar set of slides for another of my projects here) and as I did before, I got a lot of good advise from this live conference about how to pitch a game by Jason Della Rocca in which I participated last year. I also shared this video with the rest of the group, weeks ahead from the pitching date, and Will made this set of notes from it. He also provided me with important statistics from Steam Spy that I compared and matched with additional information from Steam Charts site. Debbie’s illustrations were fundamental to show the characters to the audience, and Phil seemed very satisfied after proofreading the final deck.
Another amazing talk was this one below from Pocket Gamer’s Connect Digital 5, performed by Mado Holvoët from MI-CLOS Studio as part of the content for the Incredible Indies channel, called The Narrative Process to Prepare Your Game Production.
https://drive.google.com/file/d/1FESQosZRp8qaVZgsCJl5ziQnZKOKo18e/view
List of figures
Fig 1. Excerpt of the script developed by Phil Lakin and myself for the game prototype, in C#
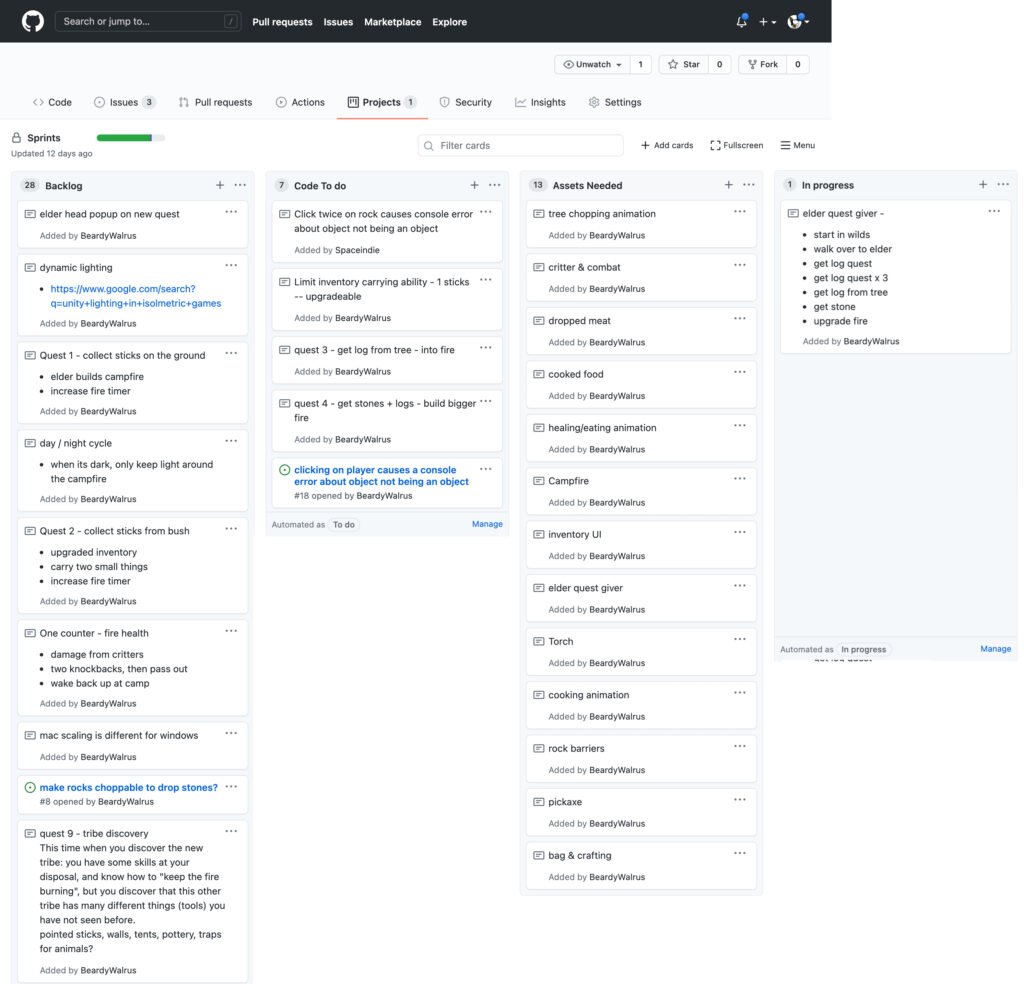
Fig 2 – GitHub backlog for Keep It Burning development (click to view the full version)
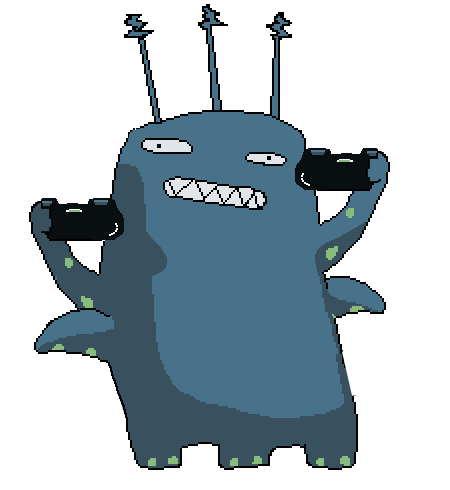
Fig 3. Wild Branch team members. Pixel art by Will Ward.
Fig 4. Team Charter for the Wild Branch. By the author.
Fig 5. Unity’s new input system flowchart. Scheme by the author.
Fig 6. Unity’s traditional animation module. Screen capture by the author.
Fig 7. Unity’s blender trees. Screen capture by the author.
Fig 8. Controlling the main character with the mouse. Capture by the author.
Fig 9. Ancient cave paintings from Hidalgo’s Cave and game logo for Keep it Burning created by the author.
Fig 10. Logo for the Wild Branch Team created by the author.
Fig 11. Style guide for Keep It Burning created by the author.
References
Thomas D, Orland K, Steinberg S. 2007. ‘Video Games Style Guide and Reference Manual‘ . Power Play Publishing ISBN 978-1-4303-1305- www.gamestyleguide.com
Wenderlich R . 2020. ‘New Unity Input System: Getting Starting‘. [online] Available at:<https://www.raywenderlich.com/9671886-new-unity-input-system-getting-started> [Accessed 8 July 2021].
Unity Manual New Input System <https://docs.unity3d.com/Packages/com.unity.inputsystem@1.0/manual/QuickStartGuide.html>
Sutter H, Alexandrescu A. 2019 ‘C++ Coding Standards 101 Rules, Guidelines, and Best Practices‘. Pearson Education Inc.
Roth S. 2017. ‘Clean C++: Sustainable Software Development Patterns and Best Practices with C++ 17‘. Springer Science + Business Media